
Drying with silica gel, pressing flowers, hanging, and microwaving
Drying and preserving with flowers—and crafting with flora—has a long history, both symbolic and practical. As we move indoors, let’s fill the big floral void and learn about four ways to dry and preserve flowers, plus what the heck to do with dried flowers!
The Brief History of Dried Flowers
The practice of preserving flowers and transforming them into a dried floral piece of art has a long history. For example, Egyptian embalming practices included the use of amulets, dried berries, seeds, and wreaths, while lotus flowers were represented in hieroglyphics; these offered a hint as to the time of year a person was entombed. Ancient Romans celebrated citizens with garlands of bay laurel leaf—the greens serving as symbolic crowns. Still, today, we pay tribute to deceased family and friends with flowers—which have served as the aromatic and visual stewards that have faithfully escorted humans through memorable moments of our lives and even, as some believe, into the afterlife.
Read Next
During the 16th century, Oshibana, the Japanese art of making pictures with pressed flowers and plants, spread throughout Europe by traders who transported the art and craft. The affection for it influenced the Victorian era and spread to the America’s where pressed flower art has been experienced a revival.
Dried flowers and cards at an oshibana (dried flower art) workshop in Osaka, Japan
What to Do with Dried Flowers?
An easier question might be what not to make with dried flowers! Once you learn what flowers dry well and some very basic techniques for preserving them, your imagination is free to roam.
I determine the method of drying that I am going to use based on the final use of the flowers in the craft that I am planning.
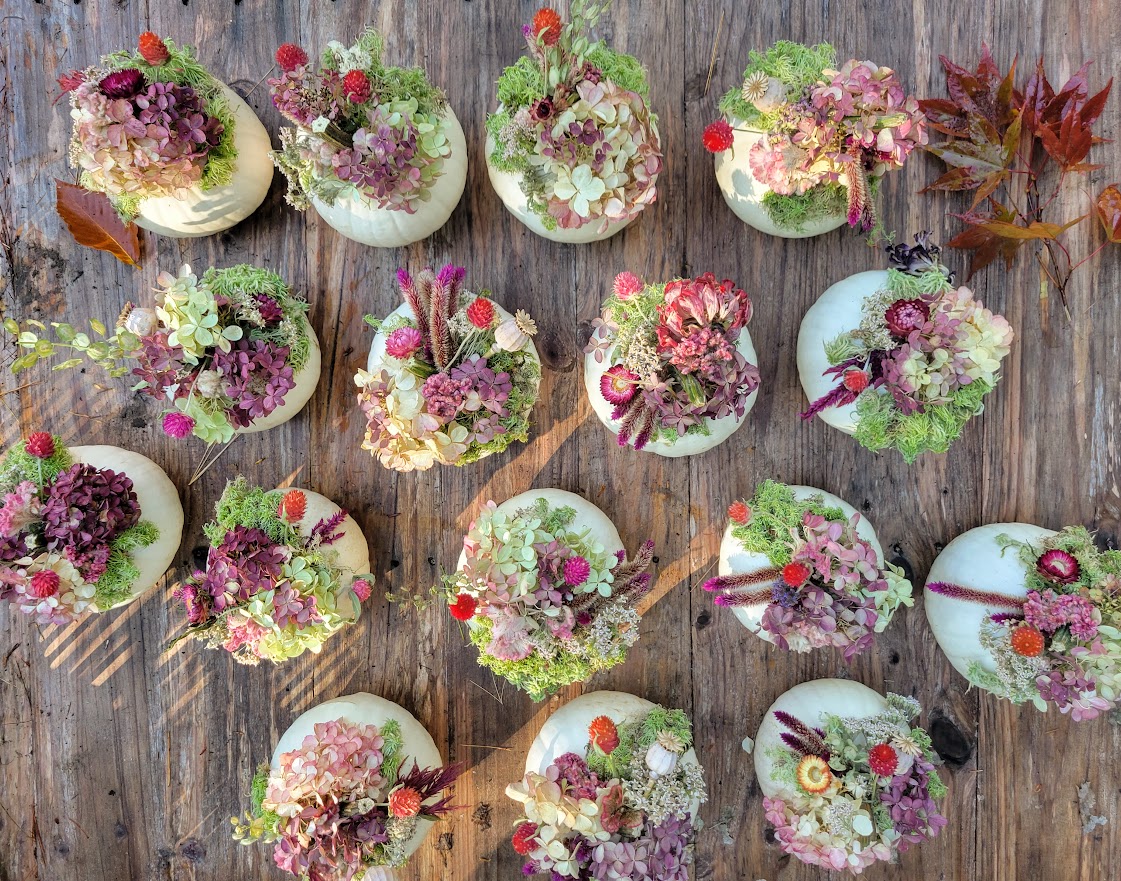
The ideas listed here are just a few of the creative ways to enjoy dried flowers and create a keepsake that will bring joy to home and heart:
- flower crowns and wedding bouquets
- floral wreaths, grapevine wreaths
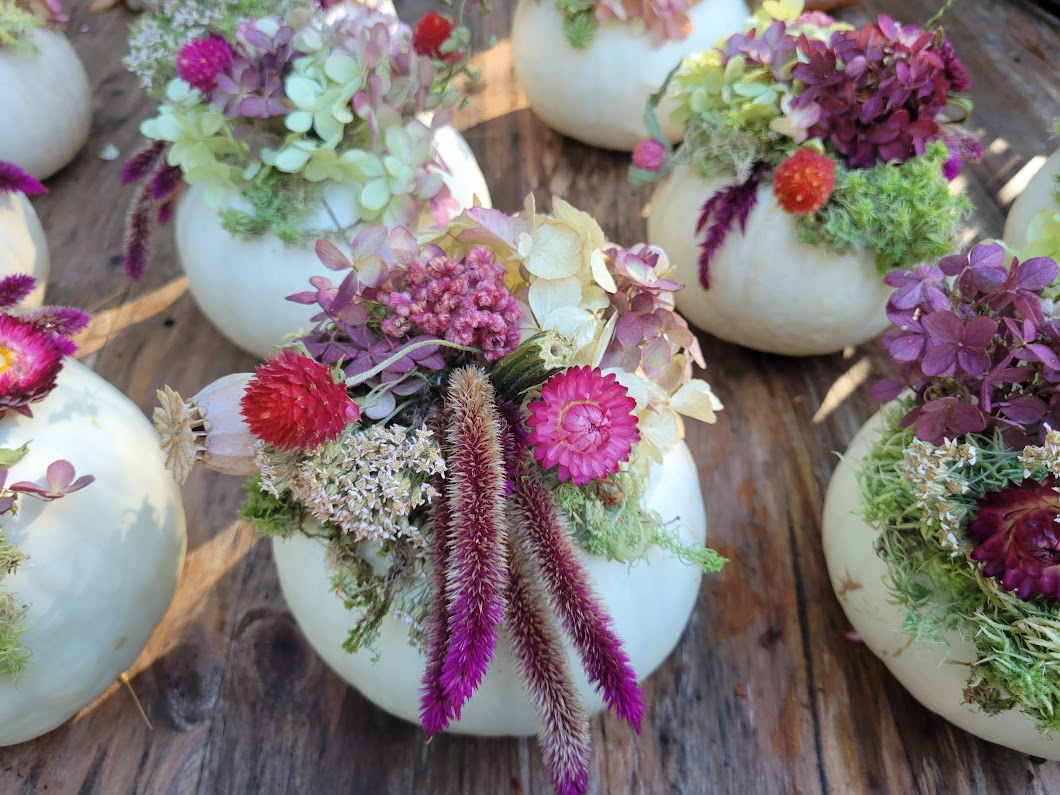
- pumpkin décor
- shadow boxes, wall hangings
- soap ingredients
- candle decor, candle votives
- pressed flower cards, handmade paper, pressed flower initials
- jewelry, potpourri and more!
When to Harvest Dried Flowers?
Here are tips on when to harvest if you grow your own flowers or pick wildflowers. The same applies if you choose to purchase flowers from a florist or store.
- Inspect flowers and look for healthy, insect-free specimens; avoid any with powdery mildew or spots.
- Choose flowers before they reach full maturity; they are easier to work with.
- Pick your blooms in the morning after any dew has dried from the flowers; you want to capture the least amount of moisture.
How to Harvest Dried Flowers
- Cut flowers with sharp shears.
- Remove the lower leaves from the flower stem. Use two hands with one hand holding the stem right below the flower head and the other hand to gently remove the leaves.
- We like to gather flowers in small bunches secured with rubber bands because the stems will shrink as they dry.
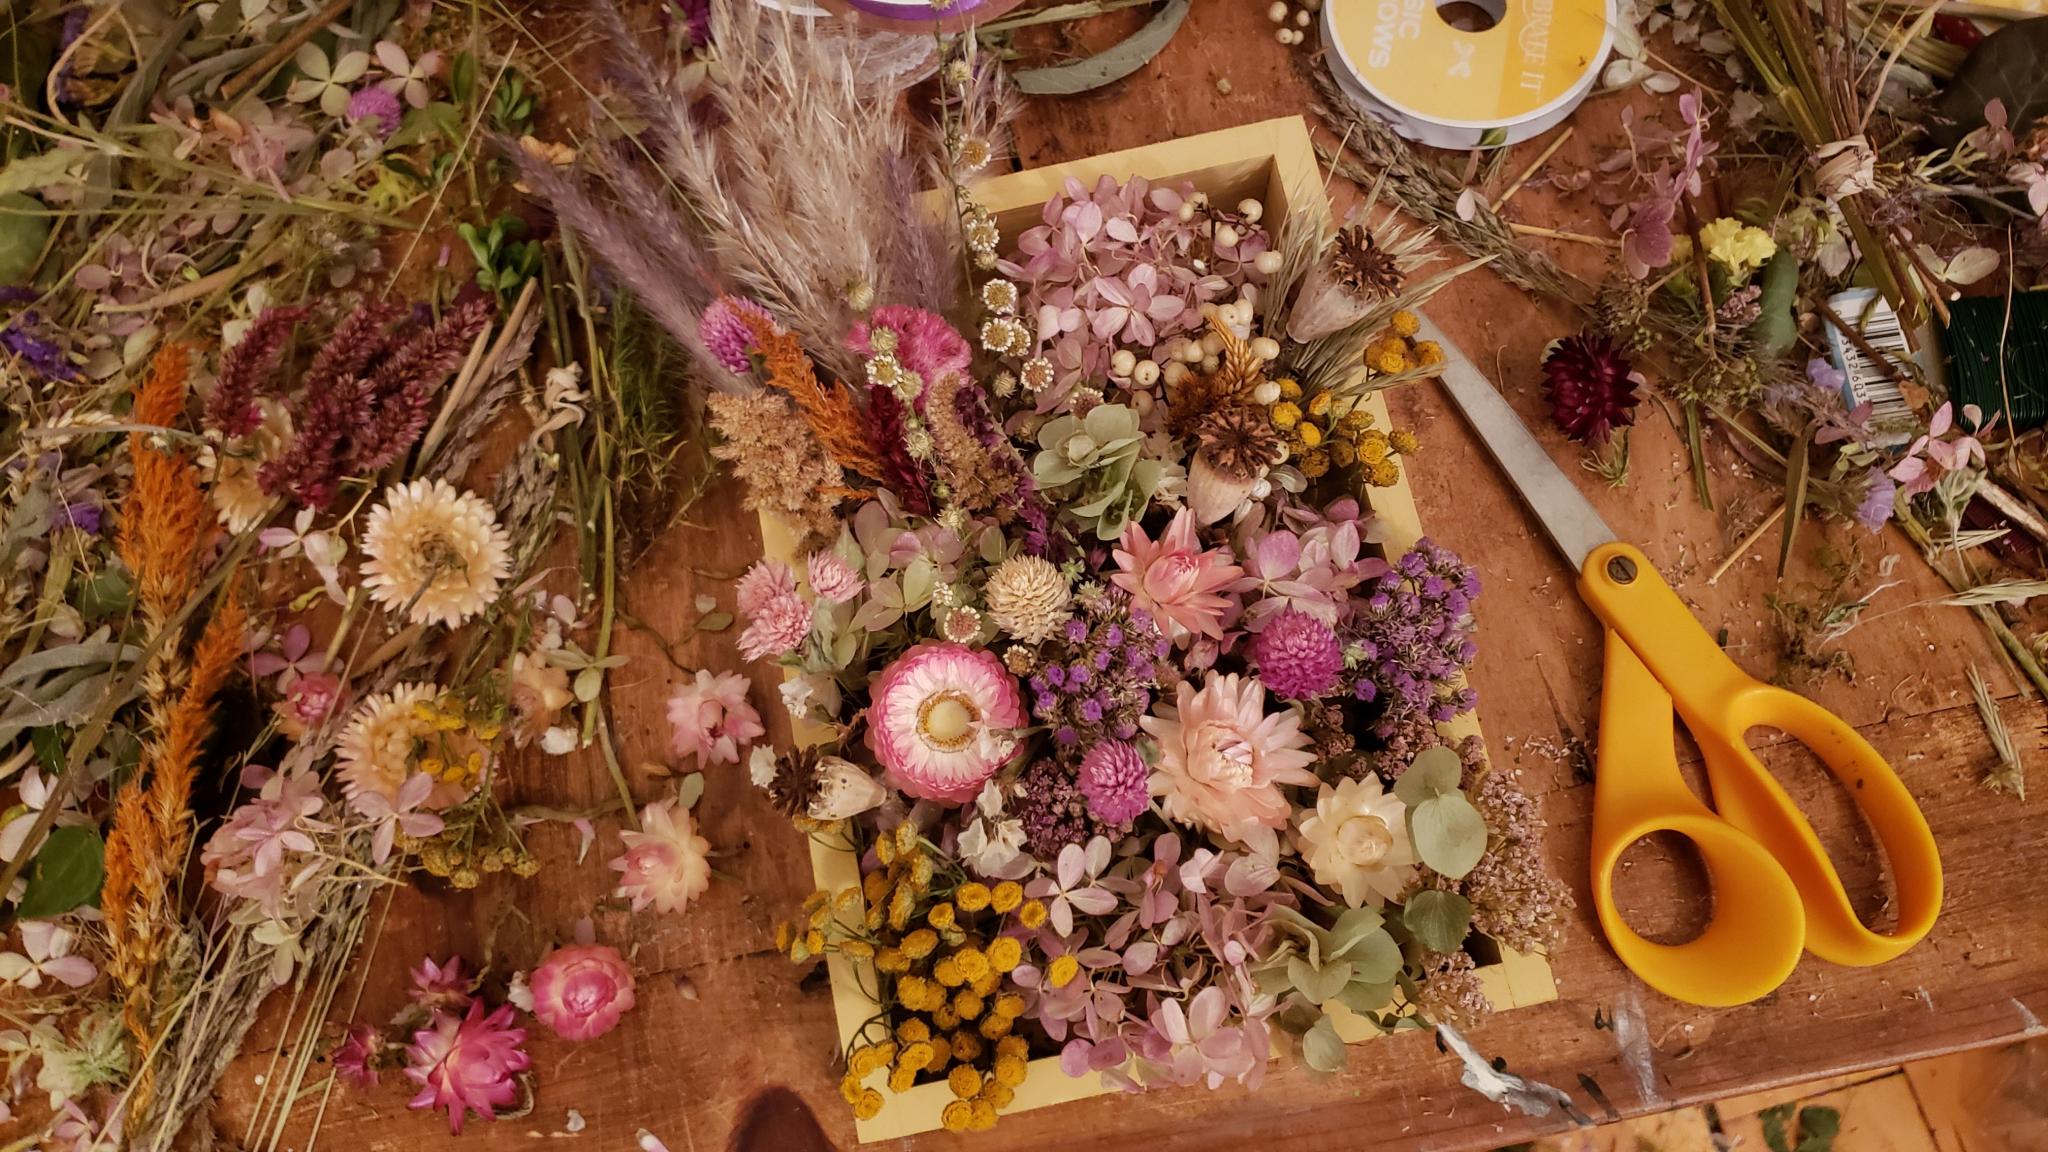
4 Ways to Dry and Preserve Your Flowers
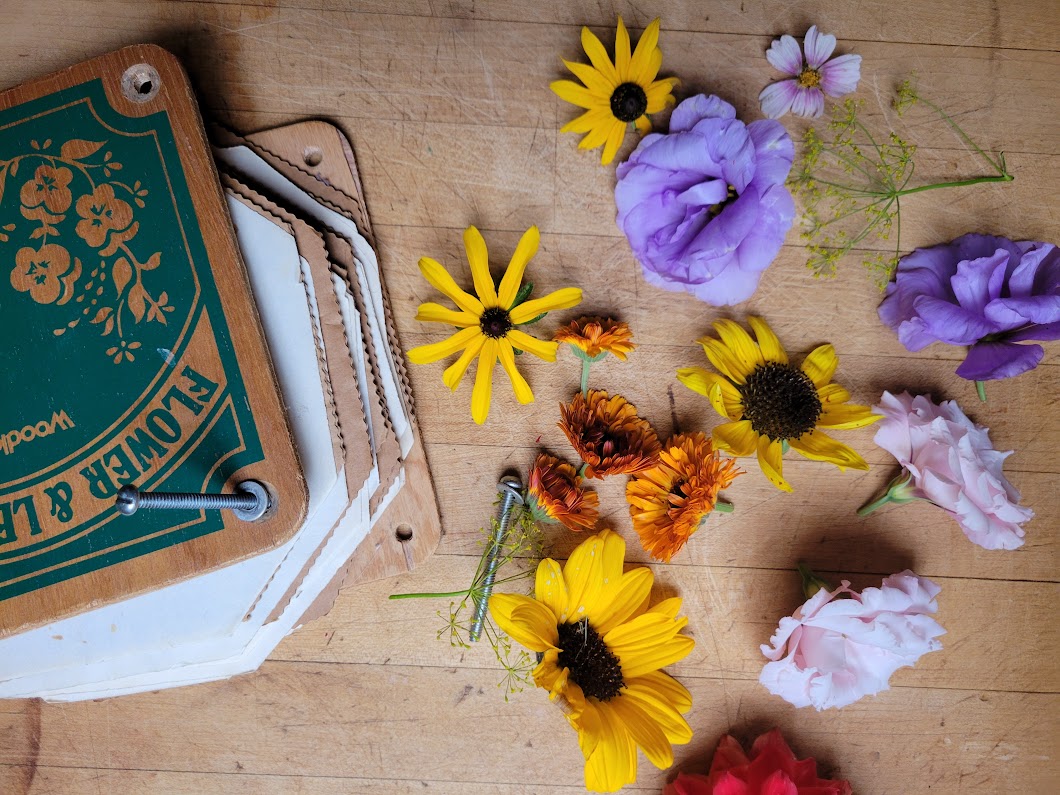
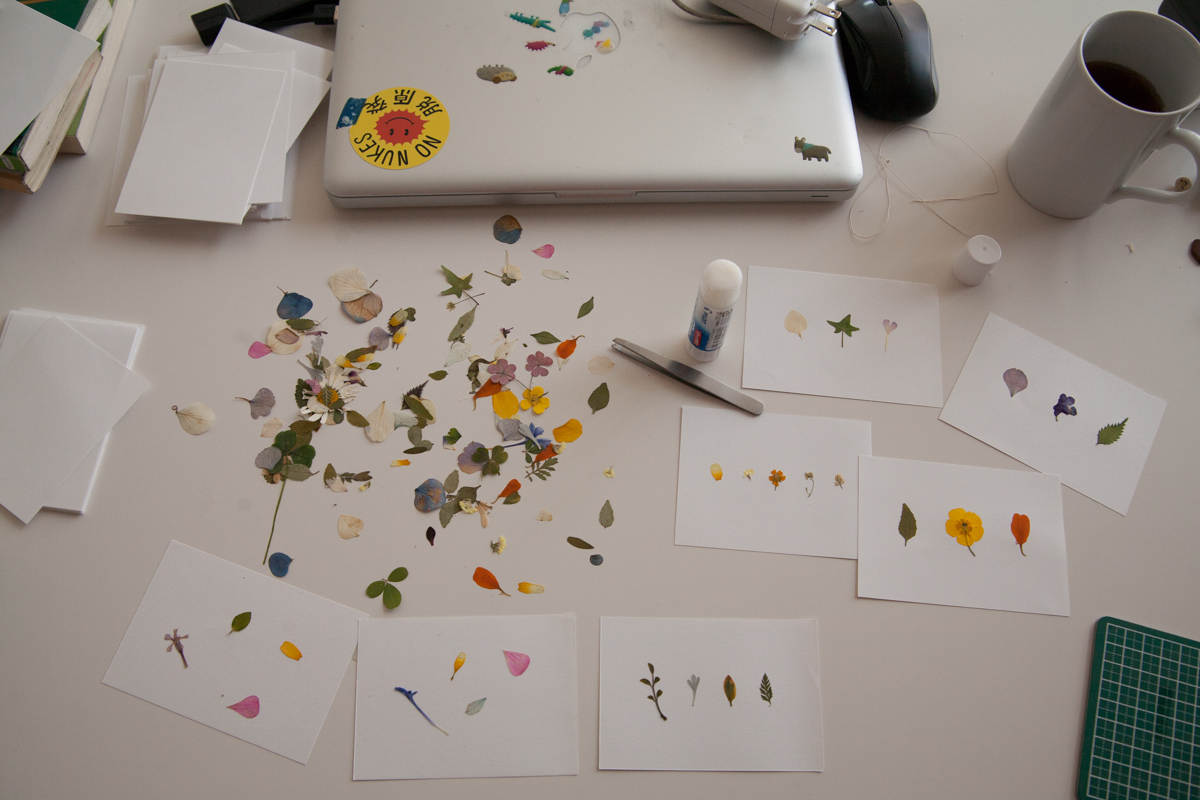
1. Pressing Flowers
Pressing flowers is one of the oldest, easiest, and most economical ways to preserve your garden bounty. I have been pressing flowers since I was young with nothing more than a couple of heavy encyclopedias and a touch of curiosity. The significant considerations when pressing flowers in a book are a bloom’s size, its moisture content, and your ability to properly envelope it in within a book’s pages (without hurting the spine).
These days, instead of books, I use a flower press. It eliminates the worry about the book and the challenge of finding the pages between which I placed the flowers.
Both methods—drying between the pages of a book or in a flower press—are easy: Select your flowers and prepare some paper. Flowers tend to bleed so you need paper to absorb this moisture in a press but also in a book, if you want to protect the pages. What paper? Do not use paper towels as they tend to leave imprints on the petals. I often cut up pieces of brown paper bag from the grocery store or use a smooth blotting paper (which you can find on Amazon or craft stores). Position as you wish. Leave space between multiple flowers.
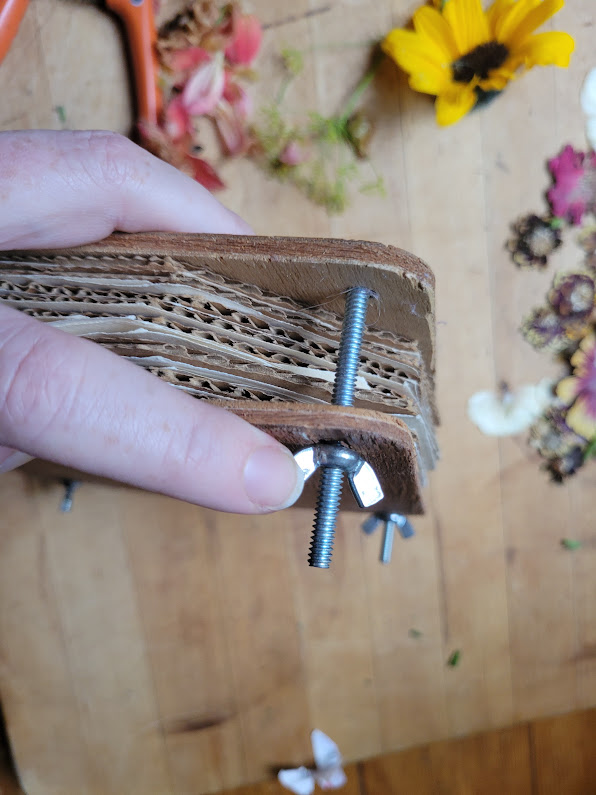
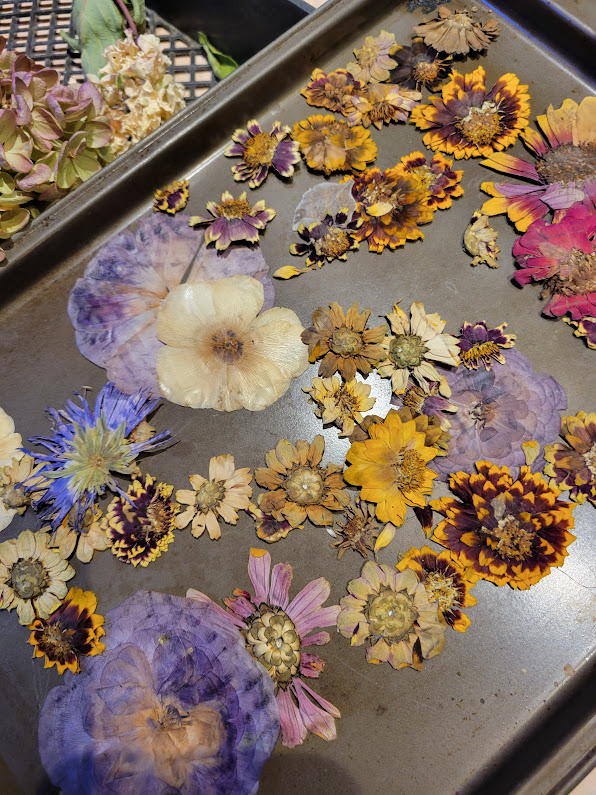
Once your flowers are tucked safely in between either pages of a closed book or in a flower press, you need to apply enough weight to squeeze out the moisture. So, tighten the press or place weights (books, bricks, whatever) on the book. Check on your blooms after two weeks. During this period in a press, the flowers will have dried considerably, so I will tighten the fasteners a couple of times. Similarly, more weight might be needed for a book. Learn more about how to press flowers (and leaves).
2. Preserving in Silica Gel
This process requires a little more time than the microwave method (we’ll talk about that in a moment), but I have found it keeps the colors more vibrant, and the flowers often retain their shape versus being pressed. To dry with silica gel, you will need a bag of silica gel crystals. These are easily available online in 3- or 5-pound amounts, and the gel is reusable so that you can use it several times in a drying season.
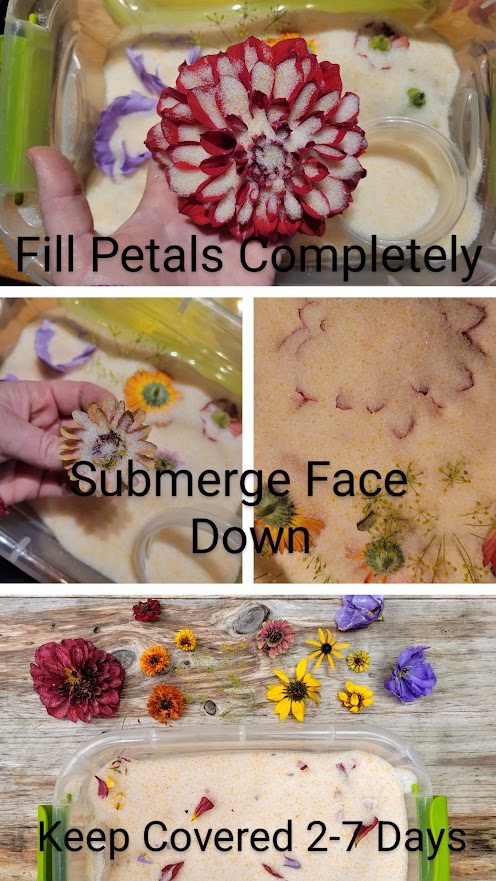
Find a small container and cover the bottom with about 1 to 2 inches of silica gel. Place the flowers face-side down into the gel beads. If you have a flower with deep petals, such as a dahlia, pour some beads into the petals; this will help the drying process. When the blooms are in the container, cover them completely with more silica gel and then secure the container’s cover. Check your flowers in 2 days to see how they are doing. If they need more time, gently replace into the gel and cover them completely. Most blooms dry within 2 to 7 days.
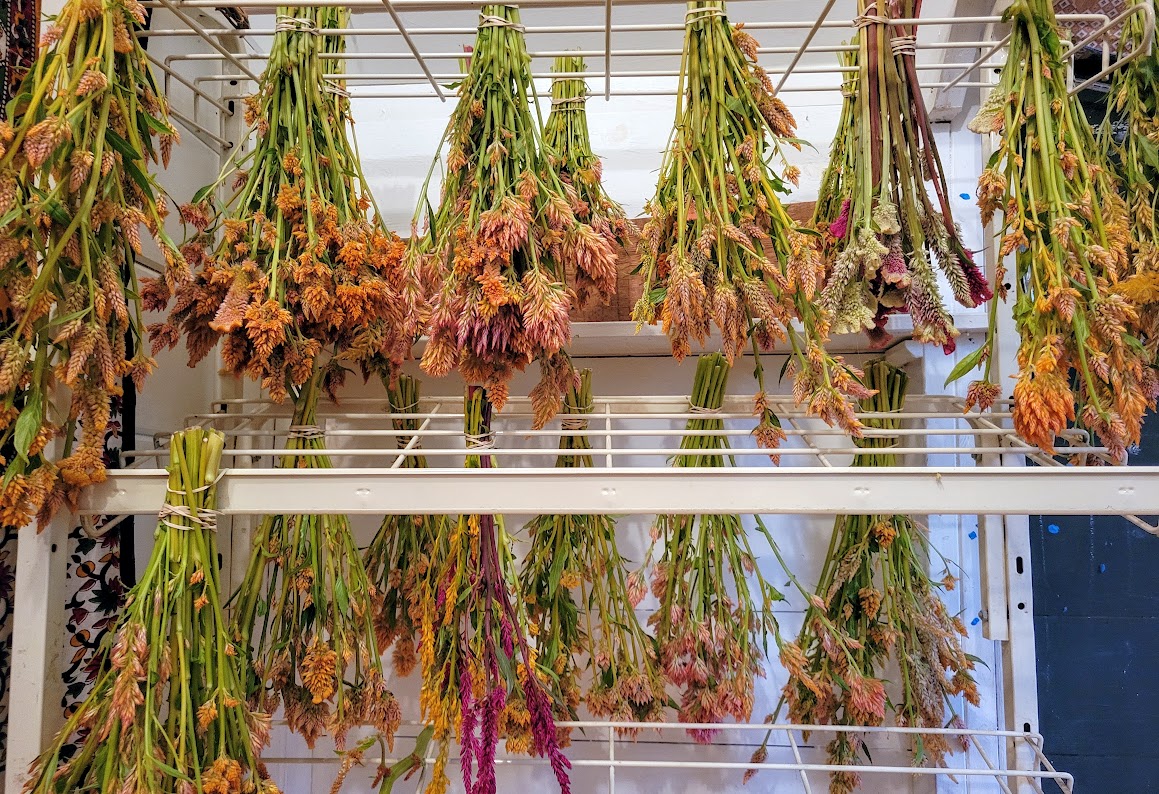
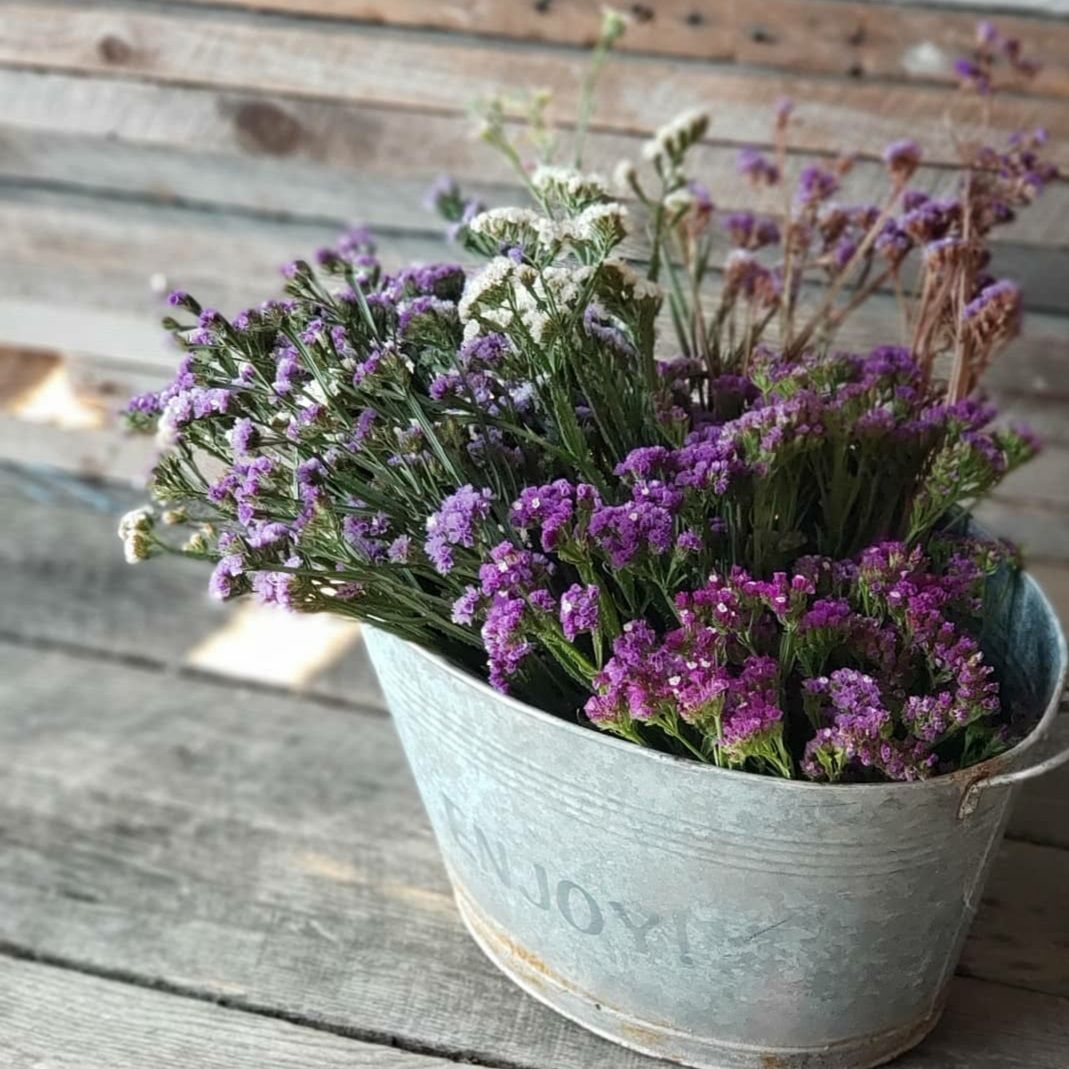
3. Hanging to Dry
Air drying is an easy and efficient way to dry large amounts of flowers. During the growing season when we have a surplus of blooms, we strip off all of the leaves while we are in the field, gather the stems into small bundles (10 to 12 stems each), and use an elastic/rubber at the base to hold them together. (Use elastic, not twine, as the stems will shrink as they lose moisture.) Then we bring these bundles up to the top floor in the barn and we hang them in various ways. We have a clothesline that spans the length of the barn as well as a couple of drying racks (old-fashioned wooden, folding racks) that have been very useful. The most important factors for this method are good air circulation and no direct sunlight. I have also dried in my dark basement by hanging on nails and adding a fan to the room to ensure good air flow. Depending on the size of the bunch and type of bloom you are drying, they are usually ready in about 2 to 3 weeks.
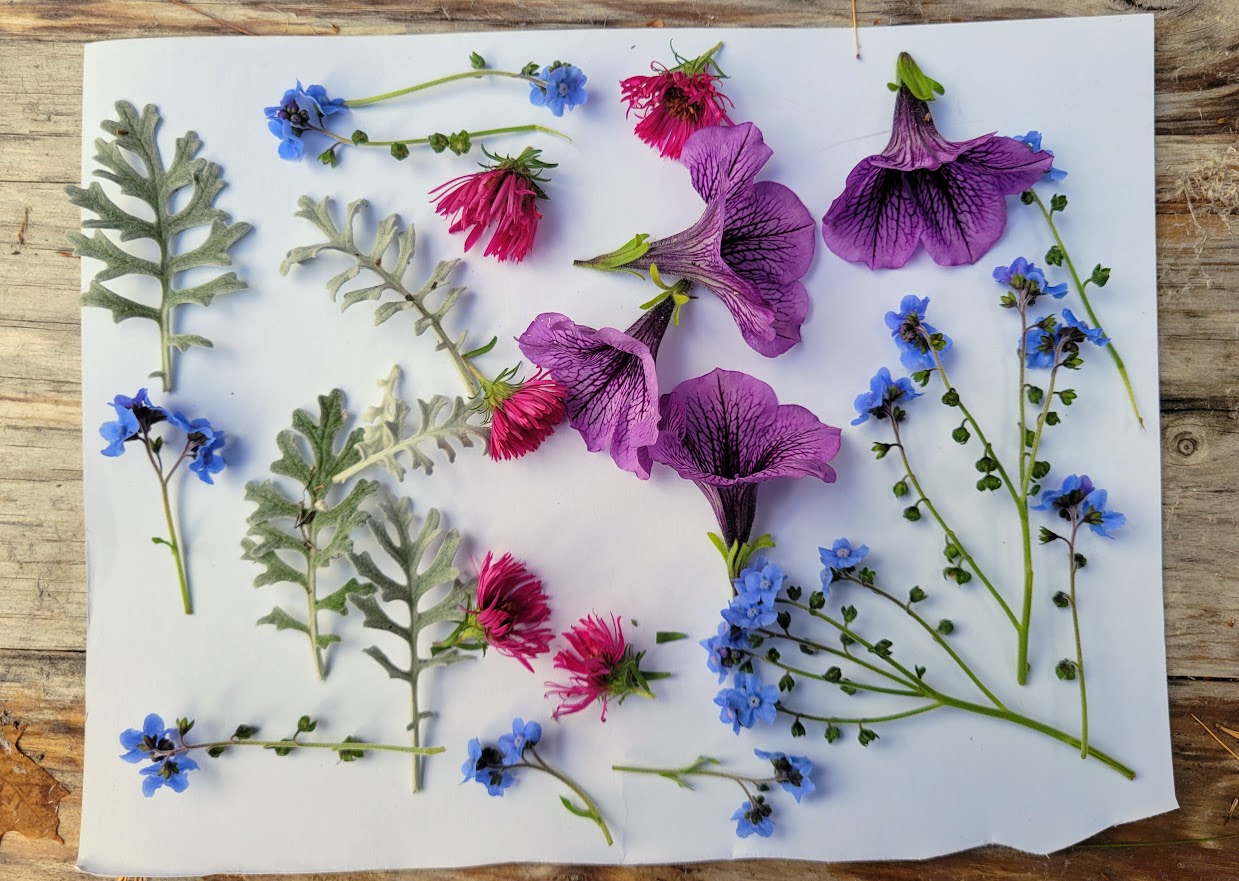
4. Microwave Oven Method
Drying in the microwave speeds the drying process up tremendously. Similar to pressing between two heavy books or using a flower press, the microwave method results in dry, flat blooms. The process is very simple. Take a non-patterned paper towel or coffee filter, and lay the flowers flat on it. Cover the flowers with a second paper towel or filter and place it all in the microwave. Set a heavy-weight, microwave-safe dish on the top of the flowers to weigh them down. Turn the microwave on defrost or your lowest setting for 1 minute, then check your blooms. Some thin flowers will dry out much faster than others. I have found most flowers will dry in 1 to 4 minutes total. If yours are not dry, repeat the process for 30 seconds (multiple times, if necessary) until they are done. The pressed flowers are then ready to use in your crafting project.
What Flowers Dry Well?
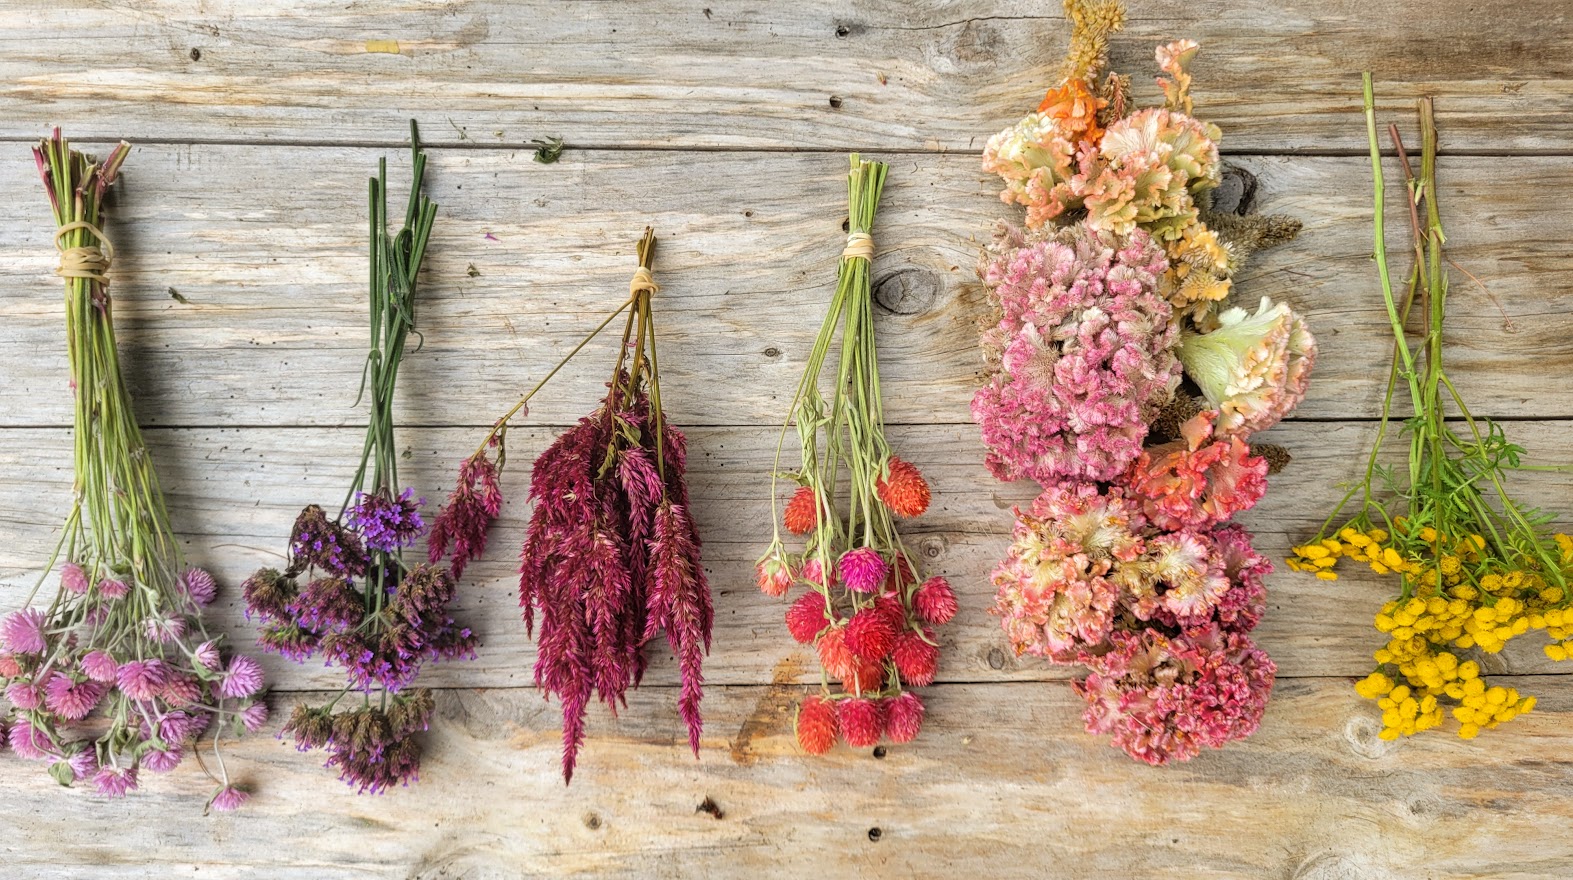
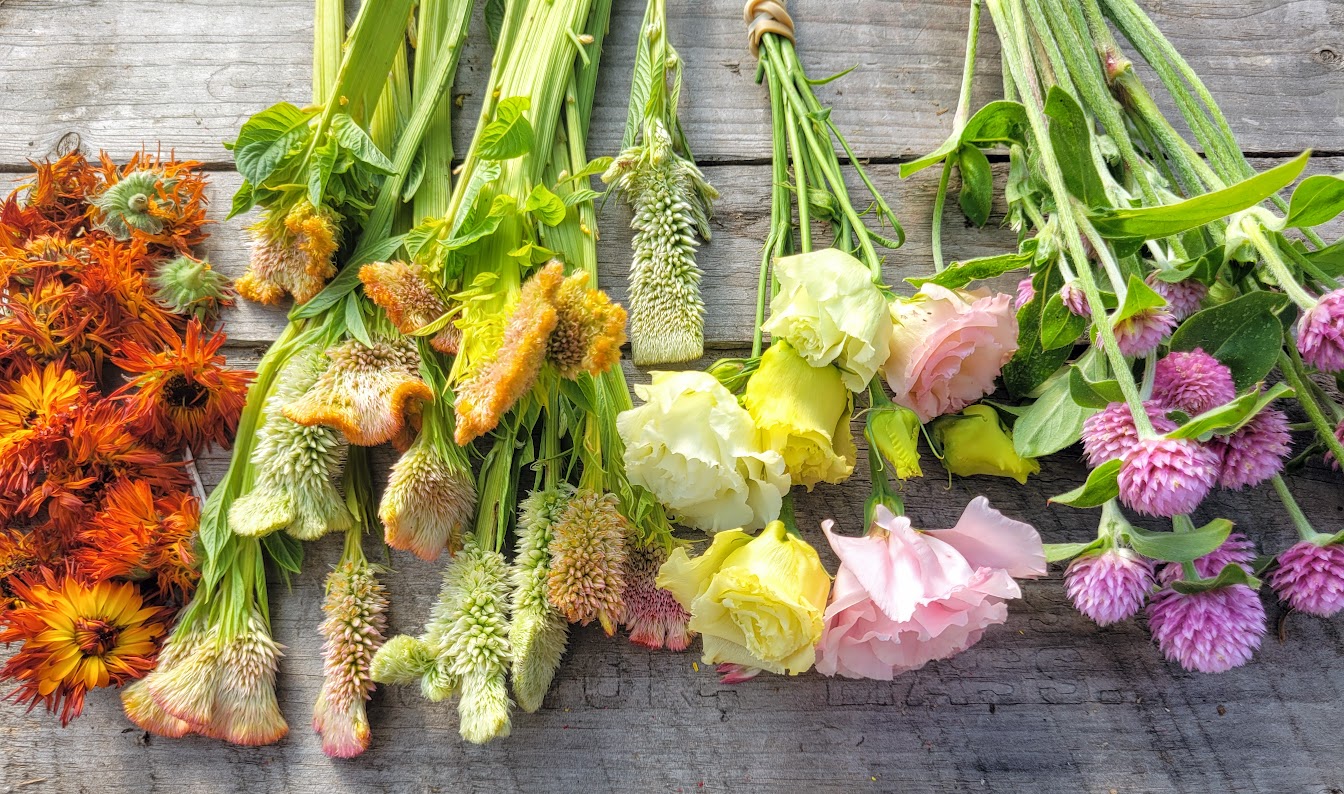
Not all flowers dry well. They ones that do well have a small calyx and hold their petals tightly. Some of my favorite flowers for drying include Globe Thistle, Celosia, Hydrangea, Statice, Strawflower, Rose, and Yarrow. Here are the 30 Best Flowers for Drying.
Most important, have fun drying and playing around with your flowers! You might be surprised with all of the imaginative ideas that you can come up with to add some everlasting beauty to your home and gift-giving throughout the season!
Melissa Spencer


ADVERTISEMENT