
How to Make Carved (and Uncarved) Pumpkins Last Longer
There are a number of things that you can do to keep your pumpkins from rotting too soon. We’ll share harvest, storage, and carving tips so you can extend the life of your pumpkins!
How Long Do Pumpkins Last?
Freshly harvested pumpkins or store-bought pumpkins can last 1 month at room temperature and 2 to 3 months if stored in a cool, dark, dry place.
Once carved, however, most pumpkins will start getting mushy in as little as 3 days. Almost all will be starting to cave in within a week, so plan when you want your jack-o’lantern to be t its best, and don’t carve too early!
Read Next
If you need your pumpkin to look great for a longer time, consider a surface carving that doesn’t penetrate the rind instead of hollowing out the pumpkin. A jack-o’-lantern with a surface carving will last longer than one that is cut all the way through. For maximum lasting power, consider painting your pumpkin instead of carving it.
When to Pick Your Pumpkin
We prefer to harvest pumpkins when they are fully mature with a deep, solid color. The shell should be hard and not easily punctured by a fingernail.
That said, pumpkins DO ripen off the vine if they’re stored correctly. Pumpkins can be badly damaged by anything more than a light frost, so early harvesting is essential if there’s a deep freeze in your forecast.
Ideally, harvest on a dry and sunny day.
Pick a pumpkin with a solid stem and no soft spots on any side (be sure to check the opposite end from the stem!). As a general rule, pumpkins from local farms or nurseries tend to be fresher than those trucked in from farther away.
Do NOT pick up a pumpkin by its stem, which can break easily (especially if it is a giant pumpkin); the stem continues to feed nutrients to the fruit after it is cut from the vine.
5 Tips to Keep Your Pumpkin From Rotting
Here are some ideas to help your carved pumpkins last longer.
- Before carving, cooperative extensions recommend that the pumpkin be washed with cool, soapy water, then rinsed in a 10-percent bleach solution and allowed to dry completely. This level of bleach shouldn’t harm wildlife.
- Be thorough when you are hollowing out the pumpkin. Remove not only the seeds, but also scrape out every strand or string, as well as any flesh that seems gooey or moist. This will slow down microbial growth. An ice cream scoop can be a great tool for this job! Pumpkin seeds can be saved for future planting, or roasted into a tasty treat.
- After carving, once again submerge your pumpkin in a 10-percent bleach solution, this time allowing it to soak for 8 hours. This can be helpful in killing off bacteria that can cause mold to grow and the pumpkin to rot faster.
- You can seal any cuts by lining the inside of the pumpkin with petroleum jelly, which can slow moisture loss. Petroleum jelly is flammable, however, so skip this step if your pumpkin will lit by a real candle.
- In general, we do not advise using real candles. Their warmth accelerates the rotting process.
- If there are times when your pumpkin is not on display, consider moving or covering it to limit exposure to temperatures that are too high or too low.
More Ways to Preserve a Carved Pumpkin
Over the years, our readers have developed more than a few pumpkin-carving hacks of their own. Here are some suggestions from Almanac readers:
- Wipe down all surfaces of the pumpkin with a vinegar-water solution (1 part vinegar to 1 part water) to kill bacteria and fungal spores. You can then spray the pumpkin daily with this solution. If you’re only going to apply one treatment, this is the one to choose.
- Place a packet of silica gel inside the pumpkin to absorb moisture.
- If your pumpkin is starting to degrade early on, try immersing it in an ice bath. Be aware that you can only do this once, as pumpkins don’t respond well to too repeated temperature changes.
5 Tips for Carving the Pumpkin
Here are some pumpkin-carving tips from a master. “Farmer Mike” Valladao has been carving pumpkins ever since he saw a giant, 612-pound specimen at a festival.
- When carving out the top of the pumpkin, be sure to angle the blade of the knife toward the center of the pumpkin to create a “shelf” for the top to rest on; otherwise, the top will fall straight into the pumpkin.
- You don’t have to carve out the top! You can hollow out the pumpkin from a hole in the back instead of the top, so that the look of the face isn’t affected. (Do not use a real candle if you hollowed out from the back instead of the top.)
- Outline your design or face on the surface first. Farmer Mike first draws a line down the center to establish symmetry. Then he sketches the nose, the approximate center of the face.
- Don’t use a serrated blade! Use a paring knife or a standard steak knife that’s not going to bend.
- Use two hands at all times: one to control the blade and the other to control the pressure with which you cut (and thus the depth).
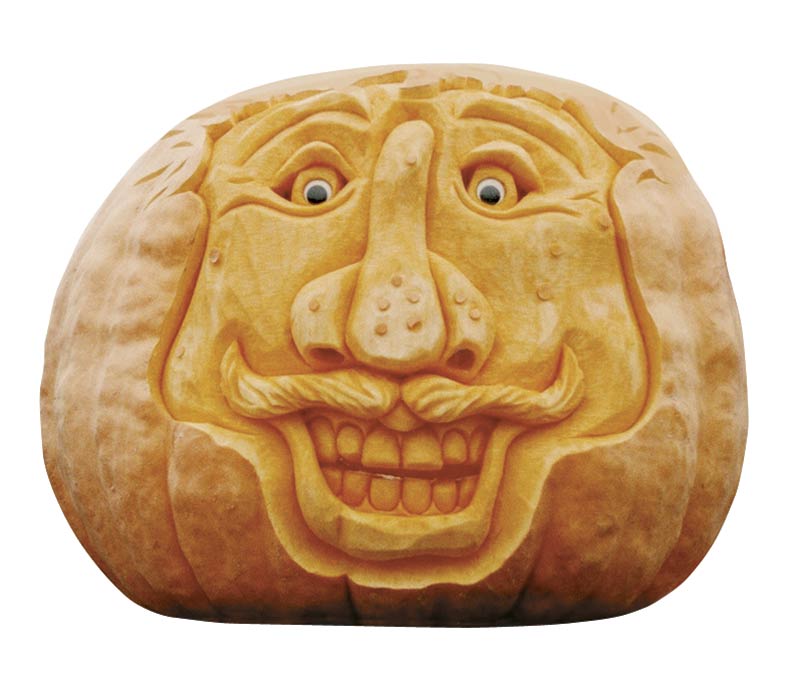
Try a Three-Dimensional Face!
For the more adventurous carver, try making a 3-D pumpkin face. You will need more than a knife. It helps to have a clay loop tool, which you can buy at a crafts store.
Peel the pumpkin’s skin off where you want to carve a face. Peel off that surface just as you would peel a carrot. Then draw your design on the pumpkin. Follow the lines, carving beneath the line, digging out the feature. For example, cut a line for a mouth and carve below. Exaggerate the features. (If you aren’t sure what teeth really look like or how the gum line works, smile and look in the mirror.) Take care not to jab the blade into the pumpkin; you don’t want to cut all the way through the rind—except to determine its depth.
Not many can carve quite like Valladao, who’s a seasoned pro, but we thought we’d share some of his amazing creations for inspiration! All photos were taken by Susan Valladao:


We hope you have fun carving pumpkins this year. We sure did with our kids!
Disposing of Your Pumpkin
- To dispose of your pumpkin, add it to your compost pile.
- If the pumpkin shell is still intact, hasn’t been soaked in bleach and has been decorated with nontoxic materials, you can process and eat it. See our favorite pumpkin recipes.
- Pumpkins can also be fed to livestock or local wildlife, so long as you did not soak the pumpkin in bleach and no toxic decorative materials have been used.
Find more seasonal ideas on our Halloween page!
Catherine Boeckmann


ADVERTISEMENT
Happy Halloween is coming soon and everyone is decorating nicely. I am not a crafty pumpkin artist, but I do like whole uncarved pumpkins for my porch ... just looks so Fall-like and welcoming for the Thanksgiving holiday as well. My little trick ... I dust off my pumpkins, polish them with furniture polish, and then polish them again with a little peppermint oil (which keeps the critters away).
Great tip!
We live in Waterford Ontario , Canada , Waterford is well known for it's yearly Pumpkinfest with a Parade , Fire Works , Business & Home Decorations plus a Haunted House . This was it's 40th year . When it began we used to decorate our Home with a 20 foot Spider Web over hanging the sidewalk to the front door with a Big Spider with it's long Black & Orange Tinsel legs hanging down . We also used to Carve 100 Pumpkins every year but since we've aged we do a lot less . I made a 20 foot snake coming down the the slope of our yard , a Snowman using white Pumpkins , a Totem Pole all carved plus all the different faces out lining the edge of our Property all lit using Christmas Tree Lights with an arrangement of different coloured lights . Once we hung Coconuts & mini pumpkins from a tree with an old skate to represent the Tom Hanks Movie Castaway . Plus Go-Karts using Bales of Straw on a board with plastic wheels and I made a Coffin from old fence boards lined with straggly old drapes with a Plastic Skeleton inside , We Won Best Decorated Neighbourhood a few years also Best Decorated Home a few years also .
In your guide to pumpkin carving tips you advise to avoid using a serrated knife. But the instructor in the video says to use such a blade! Which is correct?
WASH YOUR HANDS! And arms too, if you're reaching inside. The salt and bacteria on little (and big) fingers can destroy a pumpkin quicker than warm weather. Low temperature roasting of seeds may not kill all bacteria present so start with a clean workspace, clean utensils, and very clean hands!